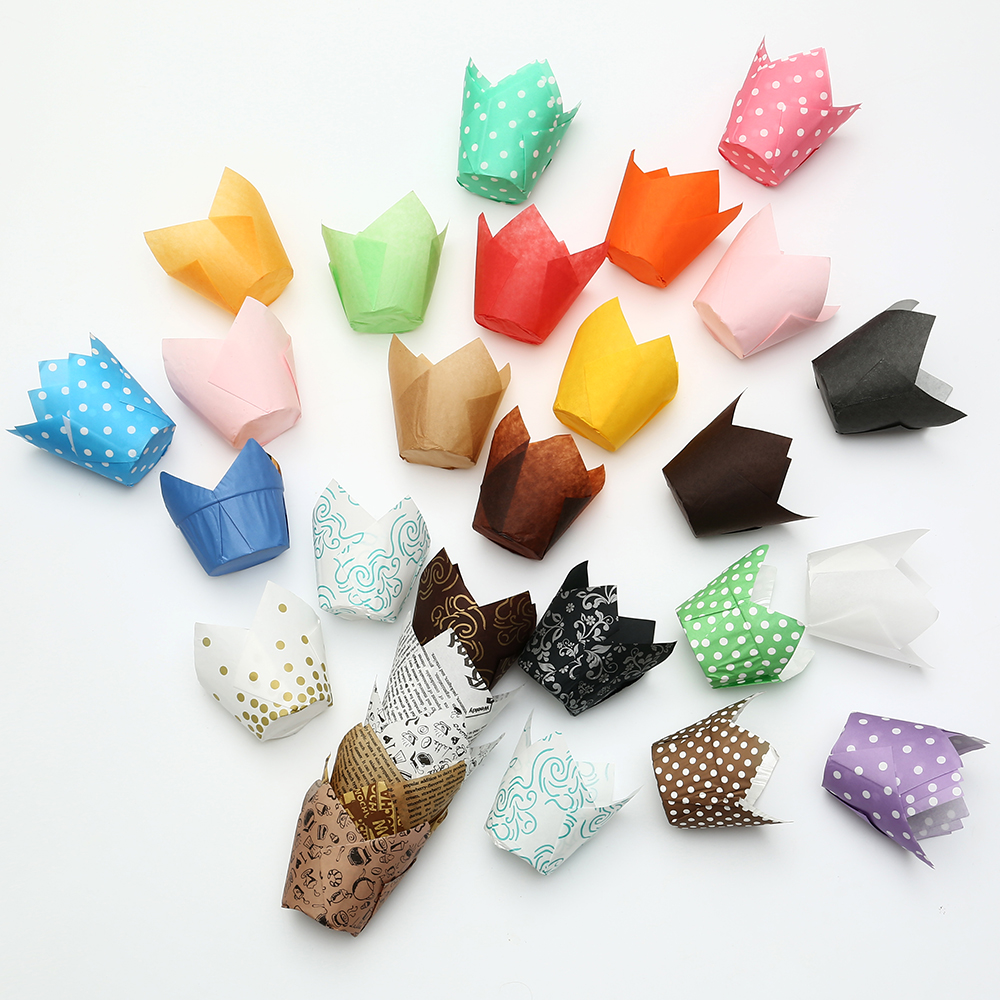
If you run a micro-bakery, sell at farmers’ markets, or just want to wow your friends at a bridal shower, custom-printed cupcake liners feel like a luxury… until you see the MOQ (Minimum Order Quantity). Most manufacturers want you to buy 5,000–10,000 pieces.
The workaround? Stamp-your-own edible liners. It’s cheaper, fast, and actually adds a handmade, artisan touch that customers love.
Why Hand-Stamped Liners Feel More Premium
Ironically, in an era of mass production, slightly imperfect hand-stamped logos read as “small batch” and “carefully made.” Big brands try to fake this with kraft paper and fonts; you can just do it for real.
What You’ll Need (Shopping List)
|
Item
|
Notes
|
|
Blank white greaseproof liners
|
Search: “white parchment cupcake liners unprinted” – avoid thin tissue ones.
|
|
Food-grade ink pads
|
Look for “edible ink stamp pad” (chef-approved, USDA-compliant). Brands: Rainbow Dust, AmeriColor edible markers cut open & pressed also work.
|
|
Rubber stamp OR potato stamp
|
Tiny motifs work best (<1 inch). Monograms, hearts, leaves, smiley faces.
|
|
Tweezers (optional)
|
To hold liners steady while stamping.
|
|
Small rolling pin or bottle
|
To flatten liners before stamping.
|
⚠️ Safety Warning: Never use regular craft ink pads. Even if the cake doesn’t touch the outside, steam and oil vapor carry chemicals. Only use certified food-contact-safe ink/paint.
Step-by-Step Method
Option A: Rubber Stamp (Cleanest Look)
-
Flatten First: Press the liner flat between two sheets of parchment under a book overnight. Flat bottoms = crisp logos.
-
Stamp the Center: Lightly tap your rubber stamp on the edible ink pad. Too much ink = bleeding. Less is more.
-
Position: Place the liner bottom-up on a hard surface. Stamp dead center.
-
Dry Time: Let sit 10–15 mins before shaping back into a cup. The ink is usually soy-based and dries matte.
-
Batch Hack: Stack 5 liners together and stamp at once—you’ll get a “ghost” fade effect on the lower layers, which looks intentional and saves time.
Option B: Potato Stamp (Zero Budget)
-
Cut a small potato in half. Carve a simple shape (star, heart, initial letter) with a paring knife.
-
Pat dry with paper towel (moisture ruins ink transfer).
-
Dip face into cocoa butter mixed with a drop of gel food coloring (melt cocoa butter, tint, let thicken to paste).
-
Press onto kraft paper liners. The fat-based paint bonds beautifully to parchment.
Design Ideas That Work Best
-
Minimalist Initials: “E + J” for weddings.
-
Seasonal Motifs: Tiny pine tree (Christmas), lemon slice (summer), pumpkin (fall).
-
Secret Message: Stamp the word “BITE ME” or “YUM” so it peeks out when the liner is peeled halfway down.
-
Bottom-Only Rule: Only stamp the flat bottom circle. Stamping the pleats looks messy and wears off unevenly.
Packaging Tip (for sellers)
Once stamped, nest 4 liners together, wrap with a thin wax paper belly band, and sell as “Bride’s Bake-at-Home Cupcake Set”. Price point: $6–8 for 12 hand-stamped liners is totally fair for a niche wedding favor market.
FAQ
Will the ink burn off in the oven?
Edible ink is designed to withstand brief heat exposure (under 350°F/175°C). Colors may darken slightly (pastels become muted), so always test-bake one tray first.